

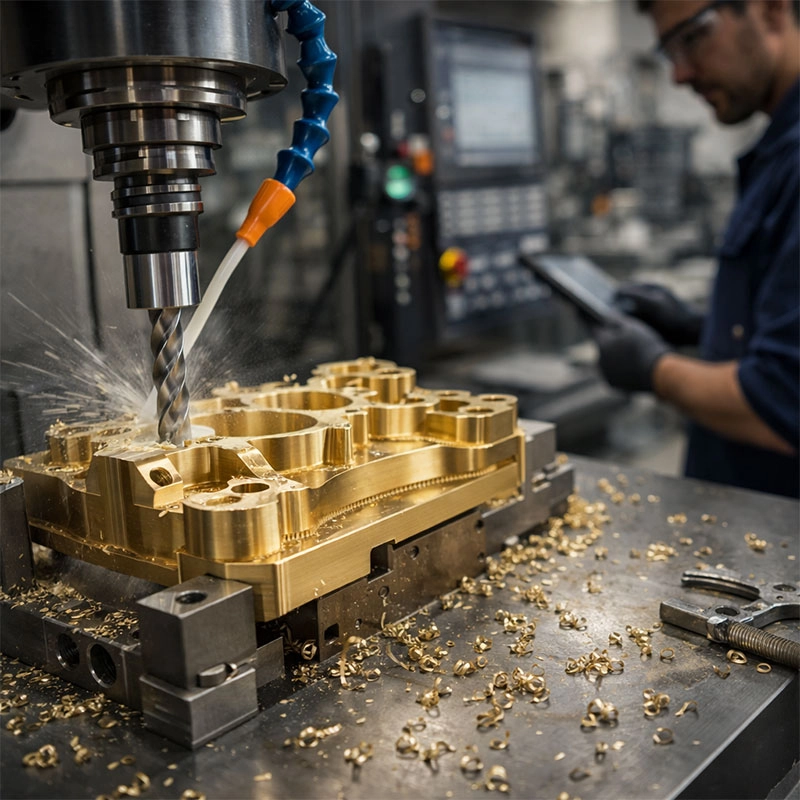
Working with brass on a CNC machine is generally a pleasure, but it’s not without its unique hurdles. From material softness to stubborn burrs, these issues can slow you down. This guide walks you through five typical brass machining problems and offers practical, easy-to-implement solutions to keep your projects running smoothly.
Tackling Material Softness and Galling
One of the first things you’ll notice about brass is how soft and “gummy” some alloys can feel. This softness is great for machinability, but it can lead to a frustrating issue called galling, where the material sticks to the cutting tool. Think of it like cutting soft cheese with a dull knife—it just smears and sticks. This build-up on the tool edge creates poor surface finishes and can even cause tool failure.
Choosing the Right Brass Grade
The key here is material selection. Not all brass is created equal! For CNC machining brass parts, leaded brass alloys like C36000 are often the top choice. The small amount of lead acts as a lubricant, significantly reducing the chance of galling and giving you those beautiful, broken chips we love. If you’re dealing with brass CNC difficulties like built-up edge, switching to a free-machining grade can feel like a miracle.
Managing Burr Formation and Removal
Ah, burrs. Those pesky, sharp edges left behind after cutting. Because brass is ductile, it tends to deform rather than shear cleanly, leading to prominent burrs. This is a classic challenge in brass CNC milling and turning. While you can’t eliminate them entirely, you can minimize them. We recommend using sharp tools with positive rake angles and higher cutting speeds. Sometimes, a simple change in your tool path strategy to ensure a clean exit can make a world of difference in reducing deburring brass components time later.
Mastering Chip Control and Evacuation
Good chip control is the secret to efficient machining. Long, stringy chips are a nightmare—they can wrap around your tool, scratch your part, and clog up the works. The goal is to create small, manageable “C” shaped chips. You can achieve this by playing with your feeds and speeds. A higher feed rate often helps break chips more effectively. Also, never underestimate the power of a good coolant or compressed air blast to keep the cutting area clear. For deep pockets or intricate precision brass machining, effective chip evacuation is non-negotiable to prevent recutting chips and tool damage.
Optimizing Tool Selection and Wear
Using the wrong tool is like trying to screw in a nail—it just creates more problems. While brass is soft, it can still cause rapid tool wear if you’re not careful, especially with abrasive alloys like silicon brass. The main problem with machining brass often boils down to tool life. You want tools that stay sharp.
Why Geometry and Coatings Matter
For end mills, choose ones with sharp edges and polished flutes to prevent chip adhesion. Coatings like TiN (Titanium Nitride) or even uncoated, sharp carbide tools work excellently. According to resources like Modern Machine Shop, the high lubricity of brass means you often don’t need the super-hard coatings used for steel. Focus on sharp geometry and a good surface finish on the tool itself to overcome these CNC brass manufacturing issues.
Achieving a Consistent Surface Finish
You want your brass parts to look as good as they function, right? Inconsistent finishes, tiny scratches, or visible tool marks can ruin a perfect part. This often ties back to the previous challenges: galling, chip recutting, or a worn tool. To get that mirror-like shine, start with the sharpest tool possible. Use higher spindle speeds and moderate feed rates. Sometimes, a final light finishing pass with a fresh tool is all it takes. And remember, the right cutting fluid isn’t just for cooling; it helps produce a cleaner cut and a better final appearance on your machined brass components.