

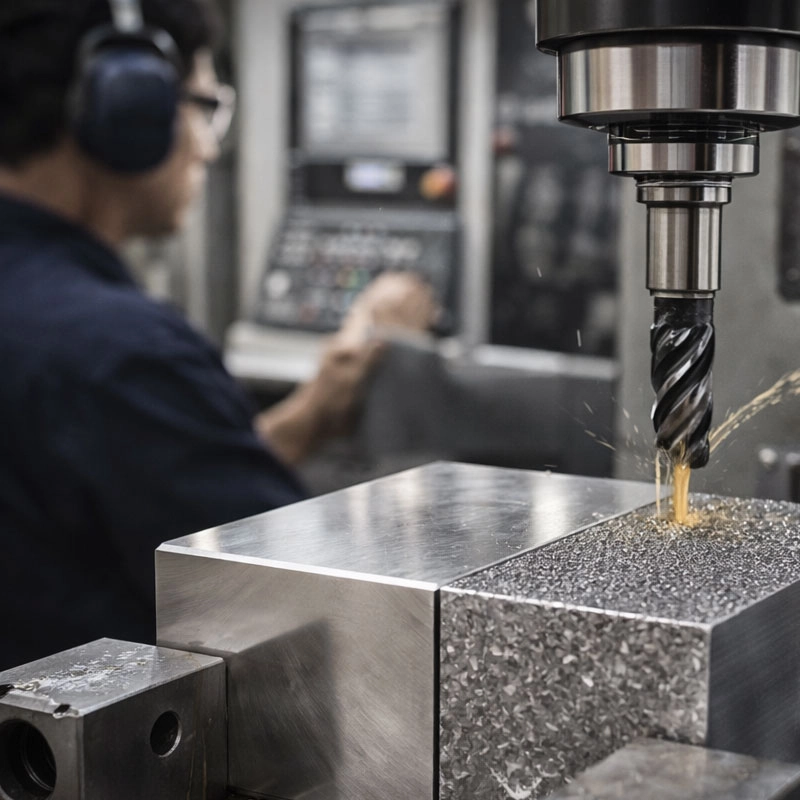
Surface finish, or surface texture, is a critical quality metric in CNC machining. It’s not just about looks; it affects how a part performs, wears, and interacts with other components. This guide will help you understand what it is, why it matters, and how to achieve the perfect finish for your project.
Understanding Surface Finish in CNC Machining
When we talk about surface finish in CNC machining, we’re really describing the texture left behind by the cutting tool. Think of it like the difference between a rough, hand-sanded piece of wood and one that’s been polished to a glass-like shine. In technical terms, it’s often called surface roughness or surface texture. It’s a tiny world of peaks and valleys that has a huge impact. Getting a handle on this concept is your first step to mastering part quality.
Key Measurements: Ra, Rz, and More
To quantify this texture, we use specific measurements. The most common one you’ll encounter is Ra (Average Roughness). It gives us a single number representing the average height of those microscopic peaks and valleys. A lower Ra number means a smoother finish. For instance, a finely polished surface might have an Ra of 0.4 µm, while a rough milled finish could be 3.2 µm or higher. Another important measure is Rz (Average Maximum Height), which looks at the distance between the highest peak and the deepest valley in a sample. Understanding these metrics helps you communicate exactly what you need, whether you’re looking for a standard machined finish or something more refined.
Why Surface Texture Matters for Your Parts
You might wonder, “Why fuss over such small details?” Well, the CNC machining surface finish directly influences your part’s life and function. A smoother finish reduces friction, which is crucial for moving parts like bearings or shafts—they’ll last longer and run quieter. It also improves fatigue resistance, meaning the part can handle repeated stress better. For components that need to seal, like fluid ports, a fine finish ensures a tight seal. Even aesthetics and ease of cleaning are important for consumer-facing products. So, specifying the right surface roughness in machining isn’t just an engineering detail; it’s a decision that affects performance, cost, and success.
How to Achieve a Better CNC Surface Finish
Achieving your desired finish is a blend of art and science in the CNC milling and turning process. It’s not just about running the machine slower. Let’s break down some of the key factors you can control. A great resource for standard definitions is the ASME website, which covers many manufacturing standards.
Toolpath Strategy is Key
The path your cutter takes matters immensely. For a superior finish, strategies like contour parallel machining or using a small stepover (the distance the tool moves sideways on each pass) are essential. A smaller stepover creates more overlap between tool paths, leaving a smoother surface. It’s like mowing a lawn with more overlapping rows for an even cut. Also, consider the direction of the tool marks—sometimes aligning them with the part’s function or final assembly can be beneficial.
The Right Tool for the Job
Your choice of cutting tool is a major player. A sharp, high-quality tool with the correct geometry will leave a cleaner surface than a worn one. Using a tool with a larger nose radius can often produce a finer finish. Furthermore, the material removal rate needs to be balanced; taking too heavy a cut can cause vibration and chatter, ruining the surface. Sometimes, the answer lies in post-machining processes like tumbling, bead blasting, or manual polishing to achieve that final, perfect look and feel.
Common Misconceptions About Machined Finishes
Let’s clear up a few things I often hear. First, a mirror finish isn’t always the best goal. It’s expensive and time-consuming to produce, and for some applications, a bit of texture is actually better for holding lubricant or paint. Second, a smoother finish doesn’t automatically mean higher part strength; in some cases, certain textures can help hide stress lines. Finally, achieving a perfect surface profile isn’t just about the machine’s capability—it’s about the entire process, including tooling, fixturing, and even the raw material itself. Don’t assume the machine will do all the work!
Putting It All Together: Your Finish Checklist
So, how do you master surface finish in CNC? Start by clearly defining your requirements using standard Ra/Rz values. Communicate early with your machining partner about the part’s function—this context is gold. Be open to their suggestions on toolpaths and processes. Remember, every additional step for a smoother machined surface texture adds cost, so aim for the “good enough” finish that meets your functional needs perfectly. For deeper dives into material science behind finishes, you can explore resources from ASTM International. By understanding the why and how, you can make informed decisions that lead to better-performing, longer-lasting, and more cost-effective parts. That’s the real mastery.