

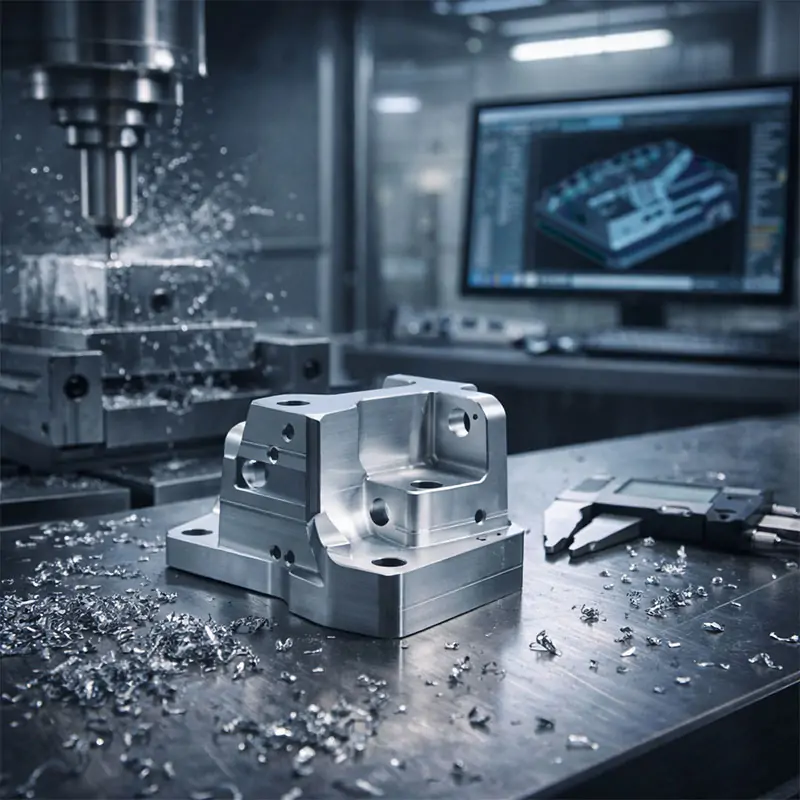
Creating a functional prototype is a thrilling step in product development. This guide breaks down the prototype machining process into five clear, actionable steps, helping you navigate from design to physical part with confidence and efficiency.
Step 1: Design for Manufacturability (DFM)
Think of your first CAD model as a brilliant idea that needs to speak the language of machines. That’s where Design for Manufacturability, or DFM, comes in. It’s the crucial first step in any rapid prototyping workflow where you optimize your design for the realities of machining. You might find that a super-sharp internal corner is impossible with a round cutting tool, or that a super-thin wall will vibrate during the CNC prototyping process. By considering these factors early, you save time, reduce cost, and avoid headaches later. A great resource for understanding standard tolerances and design rules is the American Society of Mechanical Engineers (ASME) website, which publishes widely accepted standards.
The DFM Mindset: It’s a Conversation
I like to tell my clients that DFM isn’t about limitations; it’s a collaborative conversation between your vision and the machine’s capabilities. For instance, instead of a 90-degree internal corner, designing a small radius allows the end mill to cut smoothly, resulting in a better finish and a stronger part. It’s these small tweaks in your prototype development phase that make the entire machining process for prototypes smoother and more predictable.
Step 2: Material Selection
Choosing your material is more than just picking from a list of properties. It’s about matching the material’s behavior to your prototype’s purpose. Are you testing form, fit, or function? For a visual model, a machinable wax or easy-to-finish plastic like ABS might be perfect. But if you need a part that withstands stress or heat, you’ll dive into metals like aluminum 6061 (a workshop favorite for its great balance of strength and machinability) or stainless steel. We suggest you think about the entire journey—how the material will be cut, how it will feel after post-processing, and what it needs to prove in testing.
Thinking Beyond the Spec Sheet
Let me share a quick story. A designer once insisted on titanium for a prototype purely for its “cool factor,” but the part only needed to demonstrate assembly. The cost and machining time were enormous for what was essentially a fit check. For a functional prototype, the choice was right, but for a fit-and-form model, it was overkill. Always ask: “What is the core question this prototype must answer?” Your material choice flows directly from that.
Step 3: Choosing the Right Machining Method
With a DFM-optimized design and material in hand, it’s time to choose your production path. For most custom prototype machining, you’re looking at two main CNC workhorses: milling and turning. Milling is your go-to for complex, prismatic parts (think brackets, enclosures, or parts with lots of pockets and holes), where the cutting tool rotates and moves into the stationary material. Turning is used for cylindrical parts (like shafts, knobs, or bushings), where the material rotates against a stationary cutting tool. Sometimes, a part requires both in a combined CNC milling and turning operation.
CNC Milling vs. Turning: Picking Your Tool
Imagine you’re making a simple bolt. The hexagonal head is best milled, while the threaded shaft is ideal for turning. Understanding this distinction is key to an efficient prototype fabrication process. For highly detailed or intricate prototypes, 5-axis machining might come into play, allowing the cutting tool to approach the part from nearly any direction in a single setup. The Society of Manufacturing Engineers (SME) offers excellent technical articles that delve deeper into the capabilities of different machine tools.
Step 4: Programming and Setup
This is where your digital model becomes machine instructions. Using CAM (Computer-Aided Manufacturing) software, a programmer defines the toolpaths—the precise routes the cutting tools will take. This step in the precision prototype machining workflow determines everything from surface finish to total machining time. A good programmer will select the right tools, cutting speeds, and strategies to efficiently remove material while protecting your part. Then, on the shop floor, the machine operator performs the setup: securing the material (the “workpiece”), loading the tools, and setting the zero points. This meticulous preparation is what ensures accuracy and repeatability.
The Translation Phase: From CAD to CAM
You can think of the programmer as a translator. They take the language of your 3D CAD model and translate it into G-code, the language the CNC machine understands. A common piece of advice here is to provide clean, well-organized CAD files. A model with errors or missing surfaces can cause significant delays in this translation phase, holding up your entire low-volume production run.
Step 5: Post-Processing and Inspection
When the machine stops, your part isn’t necessarily finished. This final step transforms a raw machined piece into a ready-to-use prototype. Post-processing can involve deburring (removing sharp edges), sanding, polishing, anodizing, painting, or heat treatment. Then comes inspection. This is non-negotiable. Using tools like calipers, micrometers, or even CMM (Coordinate Measuring Machine) inspection, we verify that the part matches your design specifications. This quality check closes the loop, ensuring your machined prototype is not just a physical object, but a valid test result for your project.
The Final Touches That Matter
I’ve seen beautifully machined parts lose their impact because of rough, unfinished edges. A little hand-sanding or a tumble in a vibratory finisher can make a world of difference in how a prototype is perceived and handled. The inspection report, meanwhile, gives you hard data. It tells you if your prototype manufacturing process was a success and provides crucial feedback for any design revisions before moving to full-scale production. It’s the proof in the pudding for your entire CNC prototype development effort.