

Categories
Quality & Tolerances

Master CNC Machining Tolerance Standards: A Beginner’s Guide

Welcome! If you’re new to CNC machining, the world of tolerances and precision standards might seem a bit overwhelming. Think of it like following a recipe: the tolerances are the specific measurements that ensure your final part turns out just right. This guide will walk you through the basics of CNC machining tolerance standards in a friendly, easy-to-understand way.

Understanding CNC Machining Tolerances and Specifications

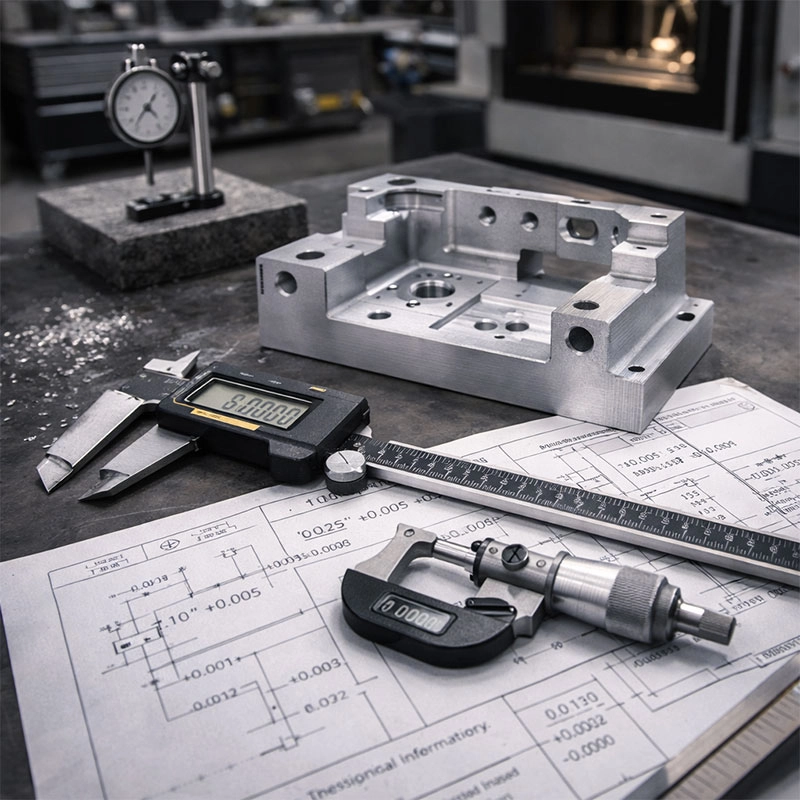
Let’s start at the very beginning. In the world of CNC precision machining, a “tolerance” isn’t about patience—it’s about permission. It’s the allowable amount of variation in a physical dimension. If a drawing calls for a 10 mm hole with a ±0.1 mm tolerance, it means the machined hole can be anywhere from 9.9 mm to 10.1 mm and still be considered perfect. These dimensional tolerances in machining are the rules of the game, ensuring every part fits and functions as intended.

What Exactly is a Machining Tolerance?

You might wonder, “Why not just make everything perfectly to the number on the drawing?” In an ideal world, that would be great! But in reality, tiny variations are inevitable due to tool wear, material properties, and machine capabilities. Tolerance standards for CNC give us a practical, agreed-upon range for these variations. They answer the question: “How close is close enough?” For a deeper dive into the fundamental concepts, the American Society of Mechanical Engineers (ASME) provides the foundational guidelines, like ASME Y14.5, that define how we communicate these tolerances on engineering drawings.

Why Getting Tolerances Right is So Important

Specifying the correct CNC machining accuracy standards is like choosing the right tool for a job. Too loose, and parts might not assemble or function correctly—imagine a wobbly gear or a leaky seal. Too tight, and you’re asking for unnecessary expense and potential production delays. Getting it just right ensures reliability, safety, and cost-effectiveness. It’s the secret sauce that allows parts from different batches, or even different manufacturers, to work together seamlessly. This interoperability is a key benefit of adhering to recognized geometric dimensioning and tolerancing (GD&T) principles.

Your Practical Guide to Specifying Tolerances

So, how do you, as a beginner, approach this? First, don’t just guess. Collaborate with your machinist or engineer early on. Ask yourself: What is this part’s job? Does it need to spin freely, press-fit snugly, or just cover a hole? The answer will guide your machining precision requirements.

Common Tolerance Standards and Grades

Many shops use standard tolerance grades, like ISO 2768-mK for general metal parts. It’s a fantastic starting point that covers most features without cluttering your drawing. For example, under this standard, a dimension like 25 mm might have a default tolerance of ±0.2 mm. For critical features, you then call out tighter part tolerance guidelines specifically. Remember, every decimal place you add (e.g., ±0.1 mm vs. ±0.01 mm) increases the challenge and cost. The International Organization for Standardization (ISO) website is a great resource to explore these international benchmarks.

Balancing Cost, Time, and Complexity

Here’s a friendly tip from experience: apply tight tolerances only where they are functionally critical. I once saw a designer specify extremely tight tolerances on every single dimension of a non-critical bracket. This turned a simple, affordable part into a costly and time-consuming project. By relaxing the tolerances on non-mating surfaces, we cut the cost in half with zero impact on performance. Always consider the manufacturing tolerances for CNC parts in the context of the whole assembly.

Clearing Up Common Misconceptions About Tolerances

Let’s bust a couple of myths! First, “tighter is always better.” Not true. Unnecessarily tight machining limits and fits waste money and can even make a part more prone to failure if it requires an overly delicate manufacturing process. Second, “the CNC machine will automatically hit any tolerance I write down.” While modern machines are incredibly accurate, they have limits. A tolerance of ±0.001 mm is a different league than ±0.1 mm and requires specific tools, processes, and environmental controls. Understanding these CNC part dimensional accuracy realities helps set realistic expectations.

Wrapping Up: Your Path to Confident Tolerancing

Mastering CNC machining tolerance standards is a journey, not a destination. Start by understanding the basic “why” behind tolerances, use standard grades as your baseline, and specify tighter controls only for critical features. Always talk to your manufacturing partner—their expertise is invaluable. By taking this balanced approach, you’ll design parts that are not only functional and reliable but also manufacturable and cost-effective. Happy machining!
Categories
Quality & Tolerances

Master CNC Accuracy: 5 Simple Steps to Improve Your Machining Precision

Achieving high precision in CNC machining is a common goal for every shop. This guide breaks down the process into five manageable steps, focusing on practical maintenance, smart tooling, and operator knowledge to help you consistently hit tighter tolerances and improve part quality.

Start with a Solid Foundation: Machine Health

Think of your CNC machine like a high-performance athlete. To perform at its peak, it needs to be in top condition. You can have the best tools and programs, but if the machine itself has issues, your quest for perfect CNC machining accuracy will be an uphill battle. The first step to improving CNC precision is ensuring your equipment is properly maintained and calibrated.

The Non-Negotiable: Regular Maintenance

This isn’t just about wiping down the machine. I’m talking about a scheduled regimen. Check and lubricate the ball screws and guideways according to the manufacturer’s manual. Worn-out bearings or a dry ball screw can introduce backlash—that tiny bit of slack in the system—which directly translates to positional error in your parts. A simple CNC machine calibration check, like a laser interferometer test, can reveal these issues. Resources from organizations like the National Institute of Standards and Technology (NIST) provide great frameworks for understanding measurement and calibration standards.

Don’t Forget the Room It’s In

Here’s something you might not think about daily: temperature. Metal expands and contracts with heat. If your shop has big temperature swings, your machine’s frame and the part you’re machining can change size slightly. For ultra-high machining precision, controlling the shop environment or letting the machine warm up to a stable operating temperature is a game-changer. It’s a key part of enhancing CNC part quality.

Choose and Manage Your Tools Wisely

Your cutting tools are the direct point of contact with your material. Using dull, unbalanced, or low-quality tools is like trying to paint a masterpiece with a frayed brush. To increase CNC tolerance accuracy, invest in high-quality tooling from reputable brands and implement a strict tool management system. This means tracking tool life, so you change inserts or end mills *before* they get too worn. A worn tool doesn’t just produce a bad finish; it deflects more, pushing away from the cut and creating dimensional inaccuracies. For specific materials, using the correct tool coating and geometry is crucial for optimizing CNC cutting parameters.

Master the Art of Workholding

If your part isn’t held rock-solid, nothing else matters. Vibration or movement during cutting is the enemy of precision. Ensure your vises, chucks, or custom fixtures are clean, in good condition, and applying adequate, even clamping force. For complex or thin-walled parts, consider strategic support to prevent deflection. A part that “sings” or vibrates is telling you the workholding isn’t right. Proper CNC workholding techniques are a fundamental, yet often overlooked, method for reducing machining errors.

Fine-Tune Your Programming and Processes

Great CNC operation precision starts at the computer. Your CAM software and the choices you make when creating the toolpath have a huge impact. This is where you can really dial things in for better CNC surface finish and accuracy.

Smart Tool Paths Matter

Avoid programming that forces the tool to take sharp, heavy cuts or sudden direction changes. Instead, use smoother, adaptive toolpaths that maintain a more consistent load on the tool. This reduces tool deflection, heat buildup, and vibration—all factors that hurt accuracy. Think of it as taking a smooth highway instead of a bumpy back road.

Dialing in Feeds and Speeds

Running a tool too fast or too slow can cause problems. Too slow, and you risk work hardening the material or poor chip evacuation. Too fast, and you generate excessive heat and tool wear. Using recommended feeds and speeds for precision machining for your specific tool and material is essential. Don’t just use the default settings; treat them as a starting point for optimization. Websites like CNC Cookbook offer fantastic, practical guides and calculators to help you find the sweet spot.

Trust, But Verify: The Power of Measurement

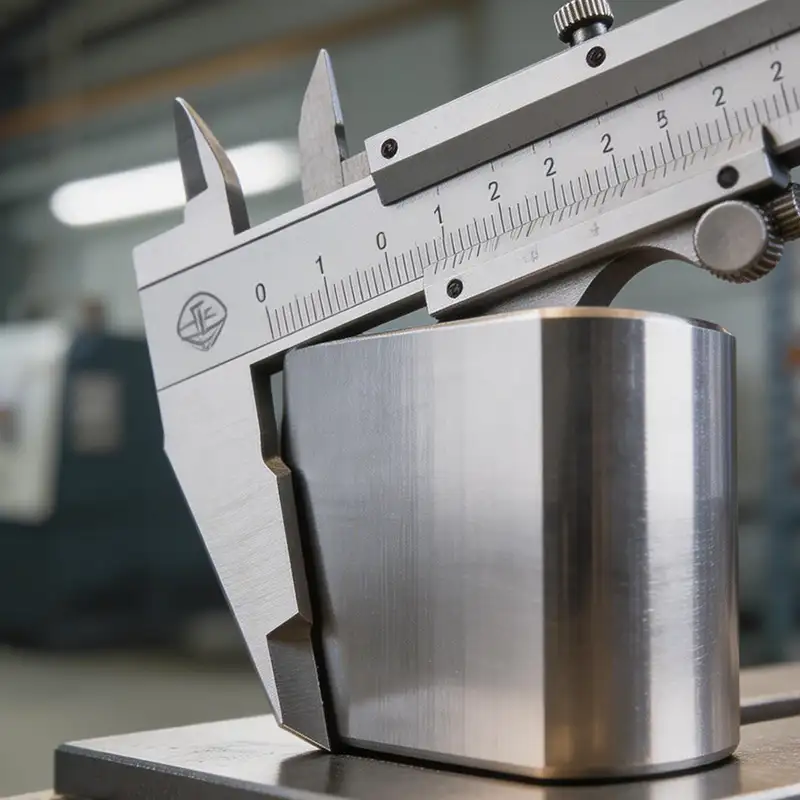
You can’t improve what you don’t measure. The final, critical step to improving dimensional accuracy in CNC is implementing a robust in-process and post-process inspection routine. Don’t wait until the entire batch is done to check the first part. Use precision instruments like micrometers, calipers, and, for complex geometries, a CMM (Coordinate Measuring Machine). This data is gold—it tells you if you’re on target and helps you make tiny offsets to your tool compensation to correct any drift. This cycle of machining, measuring, and adjusting is the ultimate secret to consistent, high CNC milling and turning accuracy.

Request A Quote

We'll Send You Back with Price Immediately!

DEC 1-31

XMAS SPECEIL

Up to

40% off

Master CNC Accuracy: 5 Simple Steps to Improve Your Machining Precision

We'll Send You Back with Price Immediately!